
How I Created a Small Tapestry on a Mirrix Chloe Loom: From Sketch to Finished Piece
- Liz Whiteside

- 26 minutes ago
- 6 min read
Creating a small tapestry on a Mirrix Chloe Loom is one of my favourite ways to combine drawing and weaving. For this piece, I thought I'd share the whole process, from the first sketch through to the finished tapestry, and show how the design evolved along the way.

Starting with the Sketch
Every tapestry begins with an idea, and for me, that idea takes shape as a simple pencil or pen sketch. I find that the simpler the sketch, the easier it is to translate onto the loom. We are all very different though, and some of us will need a bit more detail than others. If you're struggling for ideas, Pinterest can be a great source of inspiration. There are so many images and themes that can be used as a starting point for your own work.
I draw sketches in two different ways - either on graph paper to scale or on my Procreate app (more on this to come as you can use your own photos as a reference).
Key points when sketching for a small tapestry:
I use simple shapes that translate easily onto the loom.
I try to avoid intricate details that may get lost at this scale.
I think about colour blocks early on to create contrast and visual interest.
This stage gives me a starting point, although I rarely stick to the drawing completely. I do mostly work in my head and often make changes as my work is progressing on the loom. In this drawing (above) I started with 2 boats but did not like the composition balance and so added a third boat with a quick second sketch. I thought "I'll treat my boats like plants. I was always told to plant in 3's or 5's : )"
Preparing the Loom and Materials
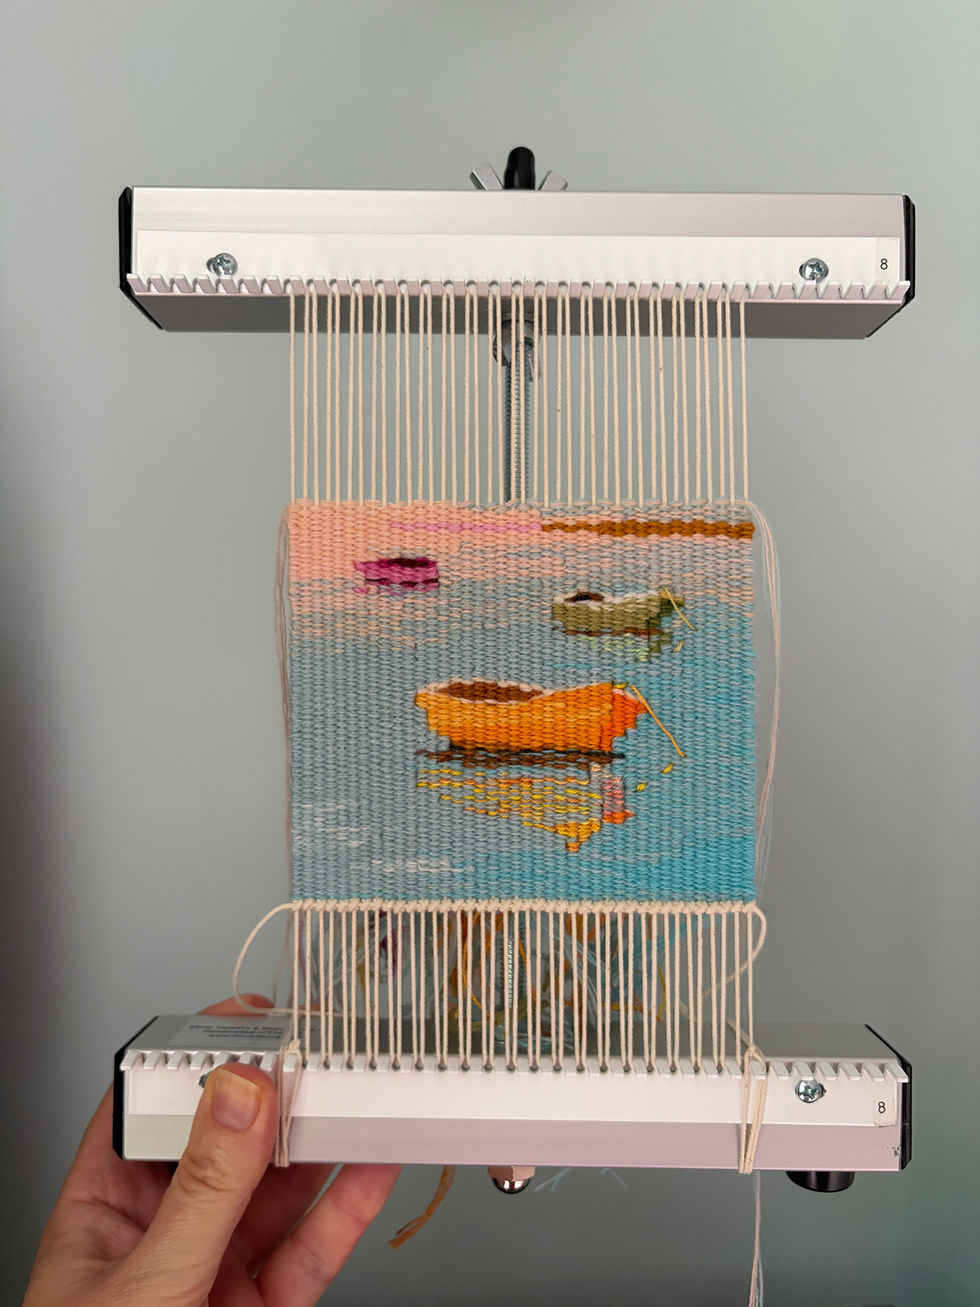
Once the sketch is ready, I prepare the loom. I often work on my 8 inch Chloe loom even though I am working at a 5 inch width but you can use either size Chloe to achieve this kind of detail.
Both looms are compact but sturdy, perfect for small tapestries. I warp the loom with a strong cotton seine twine, making sure the tension is even. Uneven tension can cause distortions in the final piece.
For those who follow me, you will know I work at 8 warps per inch (8 epi or 8 dent). I love this sett and have found it works well for both my own weaving and when teaching students.
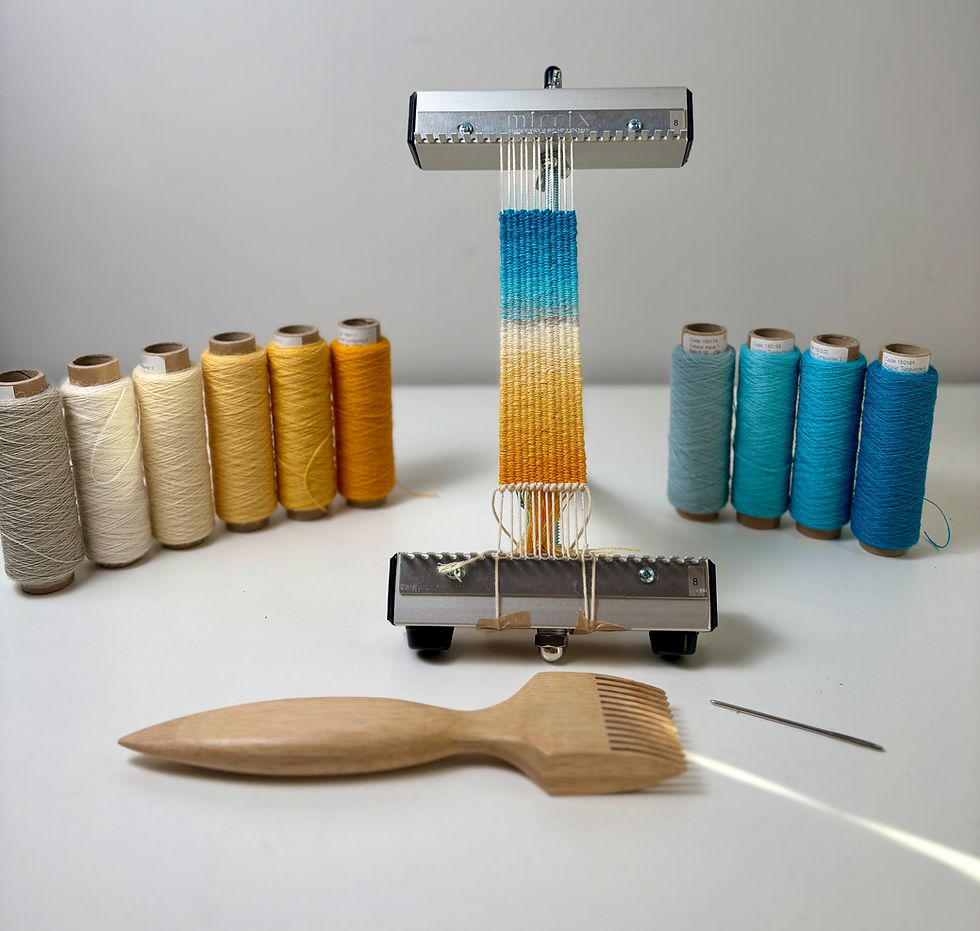
For weft materials, I choose wool, cotton or silk yarns in colors that match my sketch or photo reference. My latest work combines different yarns to great effect - like the reflections on this piece. I used 2 strands of hand dyed silk. The yarn thickness in your weft bundle should be consistent to maintain an even surface. I also gather some tapestry needles (as sometimes I will have anything up to 8 needles on the loom at once) and a small pair of scissors.
Weaving the Base Layers
With the loom warped and materials ready, I pop the drawing behind the warps and rest it against the metal rod. You can remove the drawing as and when you need to but I tend to keep mine in place.
I begin weaving after I've completed my row of double half hitch knots. If the design allows it I do a few rows of weaving from side to side to set the tension and rhythm. If the start is very detailed I might jump straight into multiple weft bundles (that's multiple small needles) from the very first row.

At this stage, I try to:
Follow the sketch closely enough to keep the proportions balanced.
Maintain an even tension.
Beat every few rows so the weaving packs together nicely.
I often pause to compare the weaving with the sketch, adjusting colors or shapes as needed. This flexibility helps keep the piece aligned with the original vision.

Adding Details and Texture
After the initial rows of the tapestry are complete, I move on to adding details by quickly introducing the hatching technique with multiple weft bundles. Please do see my YouTube video about working with multiple weft bundles and how to add or decrease them - click here). This creates more interest in the water. I think it's a very important part of the design - letting it evolve as the moment takes you.
Then it's the fun part - starting the reflections with two strands of hand dyed silk by Mirrix. These were gifted to me and they are hand dyed by Claudia (Mirrix owner). They are multi coloured and it's fun to let them do their own thing on the loom. This stage brings the tapestry to life, turning a flat design into a tactile piece with depth and interest.
I really take my time as soon as in depth detail starts. I work in little sections at a time and make sure to mix 2 strands of the sea colour with one strand of the silk in certain areas. I normally work with 4 fine yarns in my weft bundle and I've learned that I need to switch two strands of the fine yarn for one strand of this silk. It's all trial and error. By keeping in a strand or two of blue it lets the reflection be broken up and look more like water.
I keep going nice and steady, often putting the work on a shelf and coming back with fresh eyes the next day. One thing I've learned is that if a section isn't sitting right, it's usually worth taking it out and reworking it. If I leave it, it tends to niggle at me every time I look at the piece.


Finishing Touches and Removal from the Loom
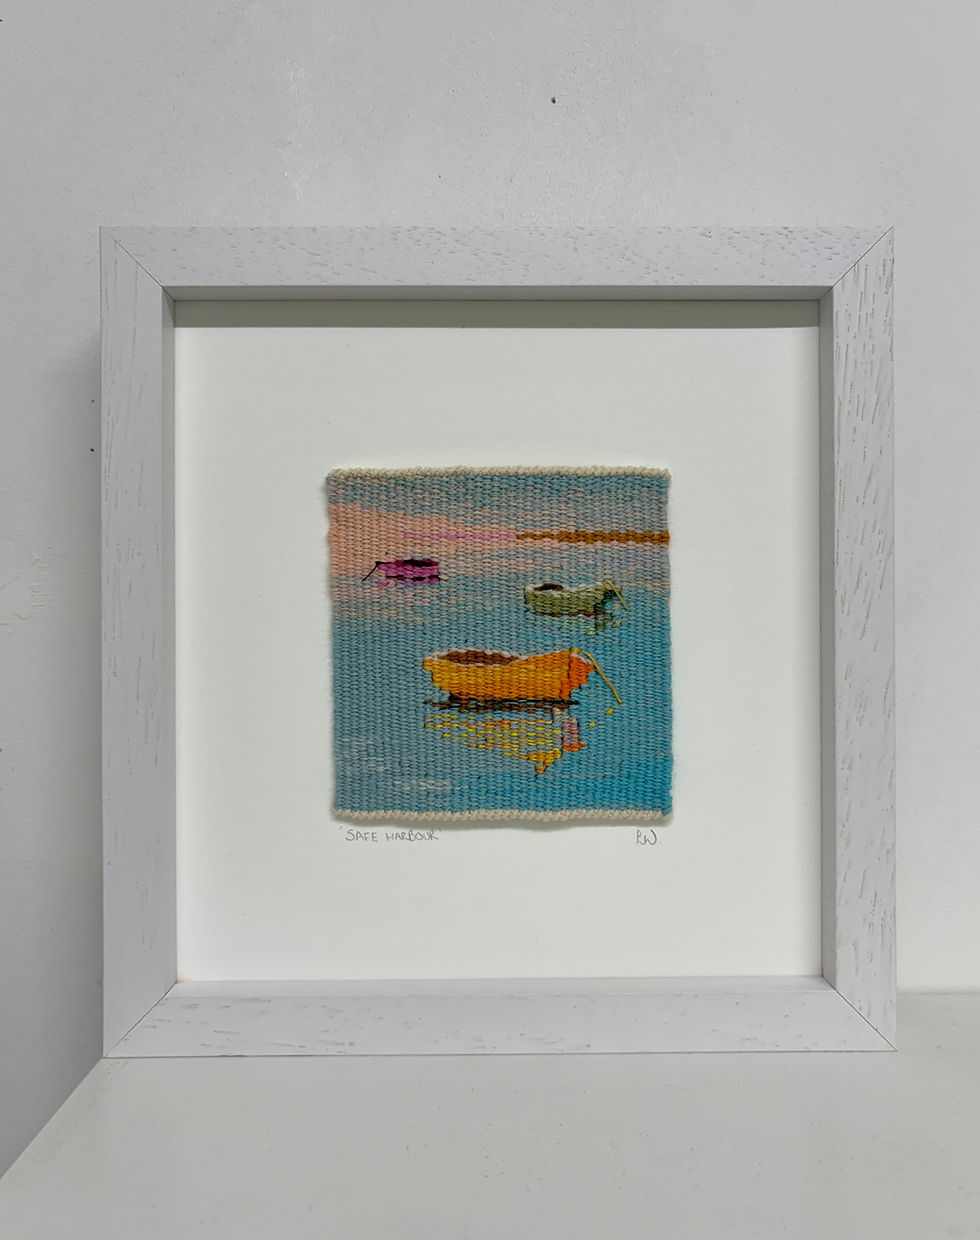
Once the weaving is complete, I carefully cut the tapestry from the loom. I secure the warp ends by weaving them into the back of the piece to prevent unraveling. I then do my usual mounting onto cotton museum board and frame it (I do have a course showing how I do this if you're interested).
Reflecting on the Process
Working on a small Mirrix Chloe Loom always reminds me how much I enjoy the balance between planning and spontaneity. The sketch gives me a starting point, but the weaving often develops in unexpected ways once I'm at the loom.
This piece changed several times as it progressed. The addition of a third boat, the soft pinks in the water, and the way the hand-dyed silk behaved were all decisions made along the way rather than at the drawing stage. That's one of the things I love most about tapestry weaving – the design can evolve as the weaving grows.
Although these pieces are only five inches square, I still enjoy seeing how much detail I can achieve within that small format. Every tapestry teaches me something new, and this one was no exception. I'm delighted that Safe Harbour found its forever home at Alnmouth Arts Festival, making all those little decisions and experiments along the way feel worthwhile.


Comments